- The Pest Informer
- Posts
- Your Eco-Friendly Method to a Mosquito Free Summer - 7 Steps
Your Eco-Friendly Method to a Mosquito Free Summer - 7 Steps
Takes 20 Minutes and Costs Less Than $20
David Floyd
June 23, 2025
Many people jump to spraying for mosquitoes, but not only is that not very effective, and expensive, it also kills pollinators including bees which are beneficial our ecosystem.
It’s time for a new solution to keep your backyard mosquito free…
Here’s your complete, step-by-step guide to building the Mosquito Bucket of Doom — a super-effective, eco-friendly way to destroy mosquito larvae before they become a problem.
🛠 What You’ll Need:
You’ll need the following to make a single Mosquito Bucket. I have a backyard that’s about 1/3 of an acre, and I made two of these buckets. If you have a larger yard you might want to consider additional buckets.
5-gallon bucket
Water (tap or rainwater)
Grass clippings, weeds, straw, or hay.
Mosquito dunks or bits (containing Bti – found at most garden or hardware stores). I use MosquitoDunks.
🧪 Step-by-Step Instructions:
🪣 Step 1: Fill the Bucket
Fill your bucket about ¾ of the way with water, (hose or rainwater are both fine).
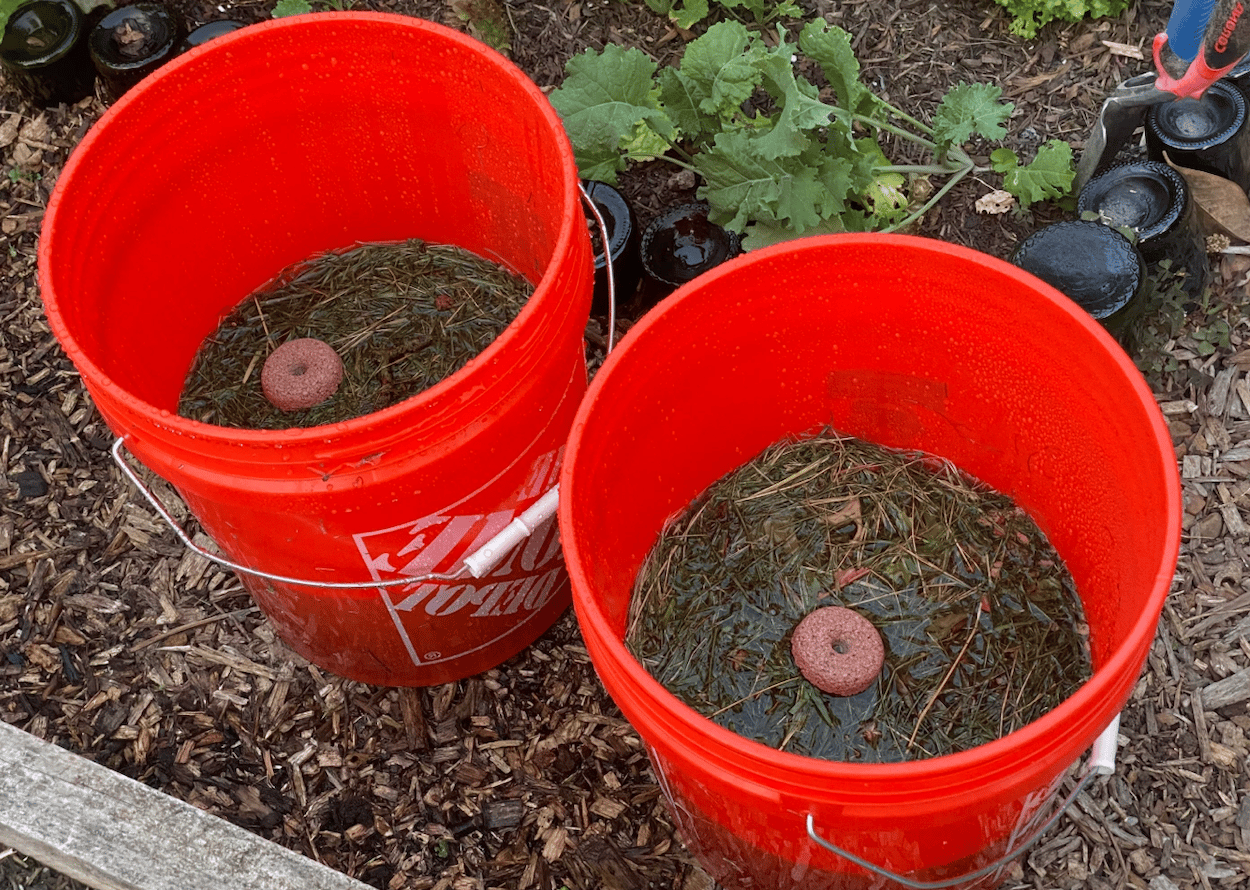
🌾 Step 2: Add Organic Material
Add a few handfuls of grass clippings, pulled weeds, straw or hay, or dead leaves, and put them into the bucket and give it a quick mix. Mosquitoes are attracted to organic materials as the materials begin to decay.
This will provide the perfect environment for mosquitoes to breed and lay their eggs.
🦠 Step 3: Drop in Mosquito Dunks or Bits
Add a mosquito dunk or a tablespoon of mosquito bits to each of your buckets (if making multiple). These contain Bti, a natural bacteria that kills mosquito larvae but is safe for people, pets, and wildlife. (You might be able to stretch your mosquito dunks by breaking them in half, and only putting half of one in each bucket).
This means that mosquitoes will be attracted to your buckets to reproduce, and then kill all the eggs and larvae that they lay, dramatically reducing the future populations of mosquitoes in your yard.
Because mosquitoes only live for a few weeks, you can effectively wipe out the next generation of mosquitoes, as the current generation begin to die.
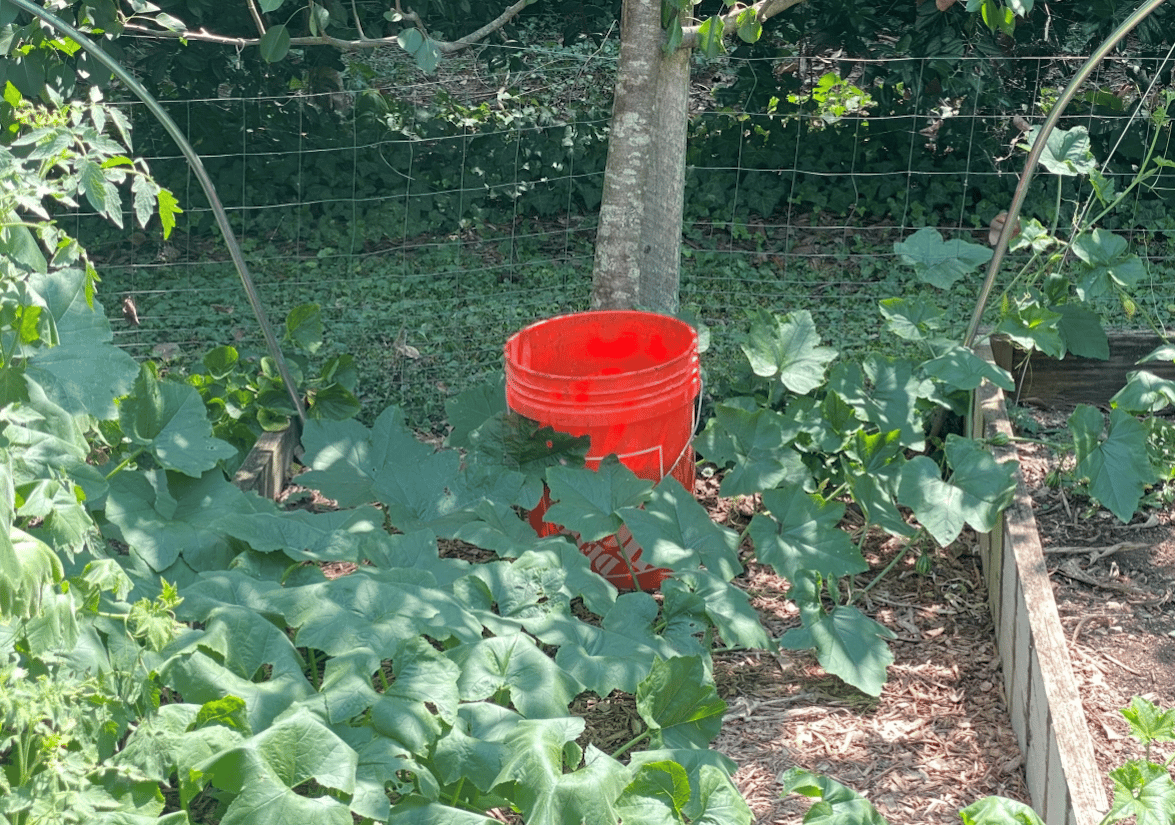
🌳 Step 4: Place It Strategically
Set the bucket in a shady area of your yard. This attracts egg-laying mosquitoes. Once they lay, the larvae hatch and die after ingesting the bacteria.
In my yard, I have a bucket in the two far corners, in shady areas with some ivy overgrowth.
🔁 Step 5: Refresh As Needed
Every 2–3 weeks, check the bucket. Add water or more straw if needed, and toss in a fresh bit of Bti monthly to keep it working all season long.
✅ Why It Works:
You’re turning the edges of your yard into a mosquito trap — luring them to lay eggs where their young won’t survive. This allows you to kill the larvae when they are still larvae, rather than trying to kill adult mosquitoes.
No harsh chemicals, no harm to bees, butterflies, or pets.
Try it and let me know how it works!
This is one of the most effective (and budget-friendly) mosquito control methods out there. And if you’d like more DIY pest control tips, stay tuned — I’ve got a few more surprises coming soon. 😉
Cheers,
David Floyd,
P.S. This method is kid-safe, pet-safe, and approved by the EPA. Bti only targets mosquito and gnat larvae — not bees, butterflies, or other helpful bugs.